Incidents
Understanding Incidents
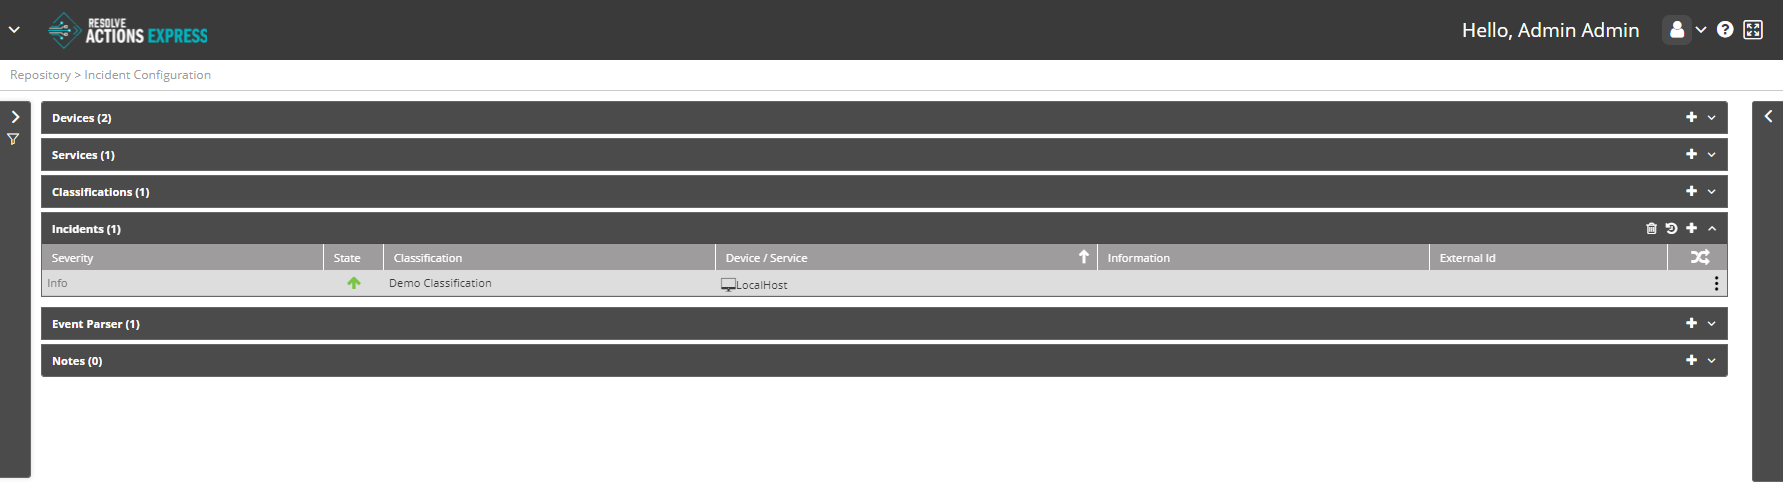
Choose Repository > Incident Configuration and open the Incidents list. The following window is displayed:
Managing Incidents
The Incidents list provides the following information:
| Column | Description |
|---|---|
| Severity | Indicates the incident's severity: Critical, Info, or Warning. |
| State | |
| Classification | The classification of the incident. |
| Device/Service | The device/service which gave rise to the incident. |
| Information | Additional information. |
| External ID | An external ID of the incident. For incidents that are parsed using the Event Parsing mechanism or created using the New Incident activity, the external ID is created automatically. For incidents that were created by mapping (using one of the built-in integrations), the external ID is the value mapped by Actions Express into the module configuration. It is an internal procedure that allows applying a distinctive ID to every incident. Example: If the integration is a ticketing system, the external ID can be mapped to the ticket ID. By doing so, every time a new ticket is created, a new incident will be created too, regardless of the Device/Service and Classification combination. |
| Execute workflow for every update. |
Operations on Incidents
For a selected incident, the following action icons are available:
| Icon | Description |
|---|---|
| Delete the incident. | |
| Open the incident history. | |
| Add a new incident. |
In addition, clicking the Actions (three-dot) menu opens the actions list where you can run some of the same actions.
Adding Incidents
To add an Incident:
- From the top right corner of the incident list, click the plus icon.
The incidents properties screen appears. - From the Device/Service field, determine whether the incident is related to a device or a service.
- In the Name field, enter the name of the device or the service.
For example:Web_SRVorMail Service, respectively. - In the Description field, enter a description for the incident.
- From the Classification field, select the classification to which the incident belongs.
- Check Run Workflow for Every Update to execute the workflow upon each update of the incident, or leave it unchecked if you wish to run the workflow only upon the first instance of the incident.
- Click Save.